
Today, I wanted to show you a little pouch that I put together for my holiday traveling. I wanted to take a little bag of vitamins, but I didn't want to use a plastic sandwich bag, and I didn't have anything else available. So I sewed one up real quick! It was super easy, super fast, and it did just the job I needed it to!
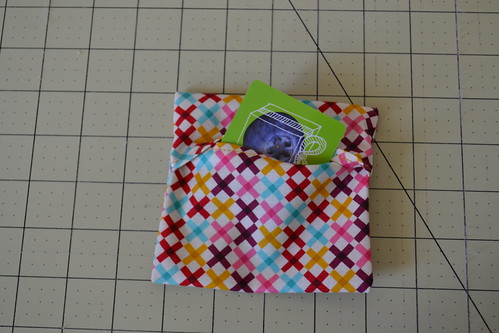
The best part was that I was able to use some scraps! For the pouch I show you in this tutorial, the fabric measured 5" by 10". This pouch is bigger than the first one I made, but I wanted it to comfortably fit gift cards. I think it's the perfect size for that!
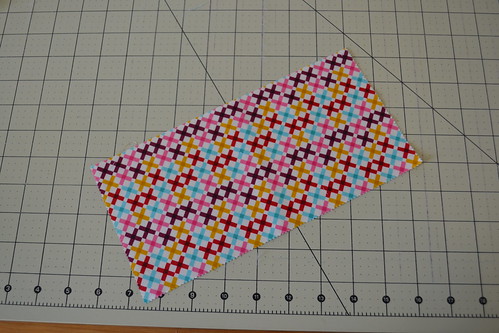
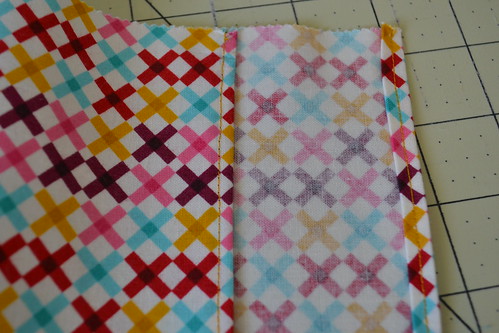
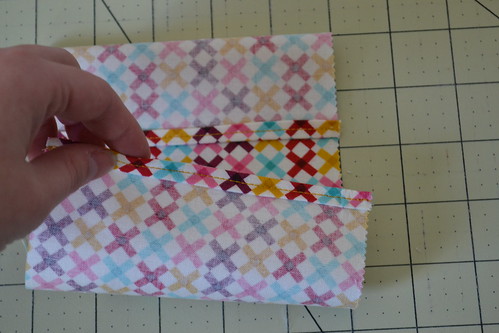
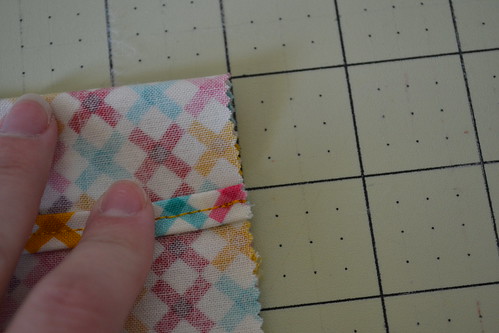
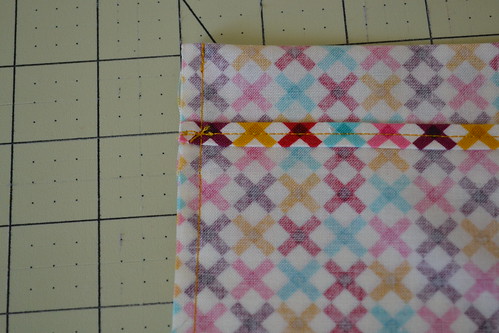
So, start with your fabric and fold the short ends over about 1/8" twice each and press in order to create a hemmed edge on the inside and outside flaps.

Once they are pressed, sew an 1/8" top stitch to secure it.
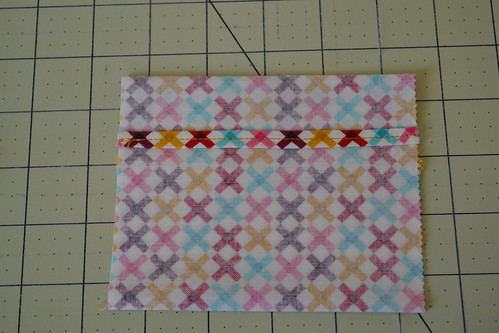
Next, with the right side of the fabric facing up, fold down the top 1 3/4".
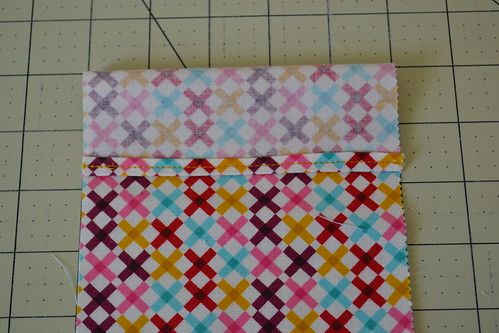

Then pull up the bottom edge and over lap the first edge by 3/4".
Press the entire pouch.
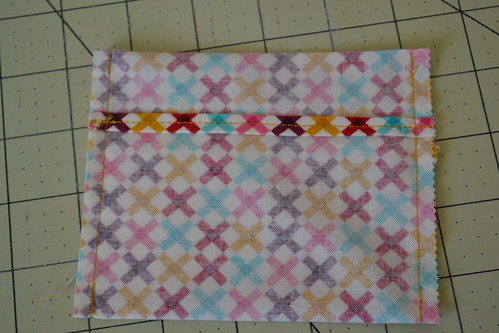
Sew both of the raw ends from top to bottom using a quarter inch seam.
Using the pouch opening, flip the pouch right side out and push out all the corners. Press the pouch one last time and presto! Cute, easy pouch!
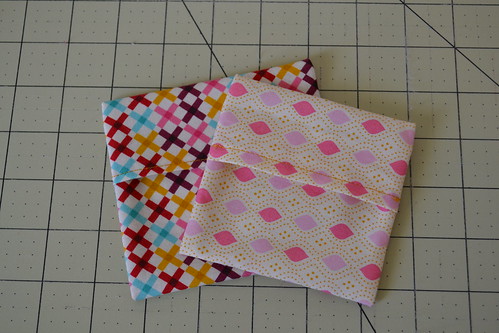
I hope you'll enjoy making this cute, fast pouches whenever you're about to travel or would like to fancy up a gift card!
Have a great day!
xoxMegan
Currently Listening to: The Police and the Private by Metric
No comments:
Post a Comment
Thank you so much for taking the time to leave me a little note! Please know that even if I don't respond, I do read each comment and they make my day! If you have any questions or specific concerns, feel free to email me and I'd love to chat you up! Have a great day!